Menushopping cart
Tools for Working Wood
Invest in your craft. Invest in yourself.

BEN The Build-It Blog

Brace Maintenance and Restoration, Part 3

11/14/2019 by Yoav Liberman

Brace Maintenance and Restoration, Part 3 1
After offering some tips on how to identify the promising potential in used braces, and how to avoid the one that are deemed unworthy of your time, I would like to go through a basic rehabilitation protocol. First try to clean the brace from sand, sawdust and other contaminants. To do this use a bristle brush, a dust collector (shop vac), and lastly a rag moistened with mineral spirits.

Rust: Many old braces suffer from rust problems. Rust will mostly be present on the exterior surfaces such as on the crank, the quill, and the shell (the chuck’s knurled tightening sleeve). Rust can sometimes blight the moving parts too, but because these parts had been oiled or greased at some point, this is not very likely. Rust will creep into the mechanism and “freeze them up” only if the brace had been immersed in water or had been left in a humid environment for an excessive period of time. It is up to you to decide how much, if any, you want to spend on non debilitating exterior rust. Interior rust, however, do need to be taken care of, and the most effective way to do this is by oiling the moving elements and nudging them to action until the rust succumbs to the lubricant.

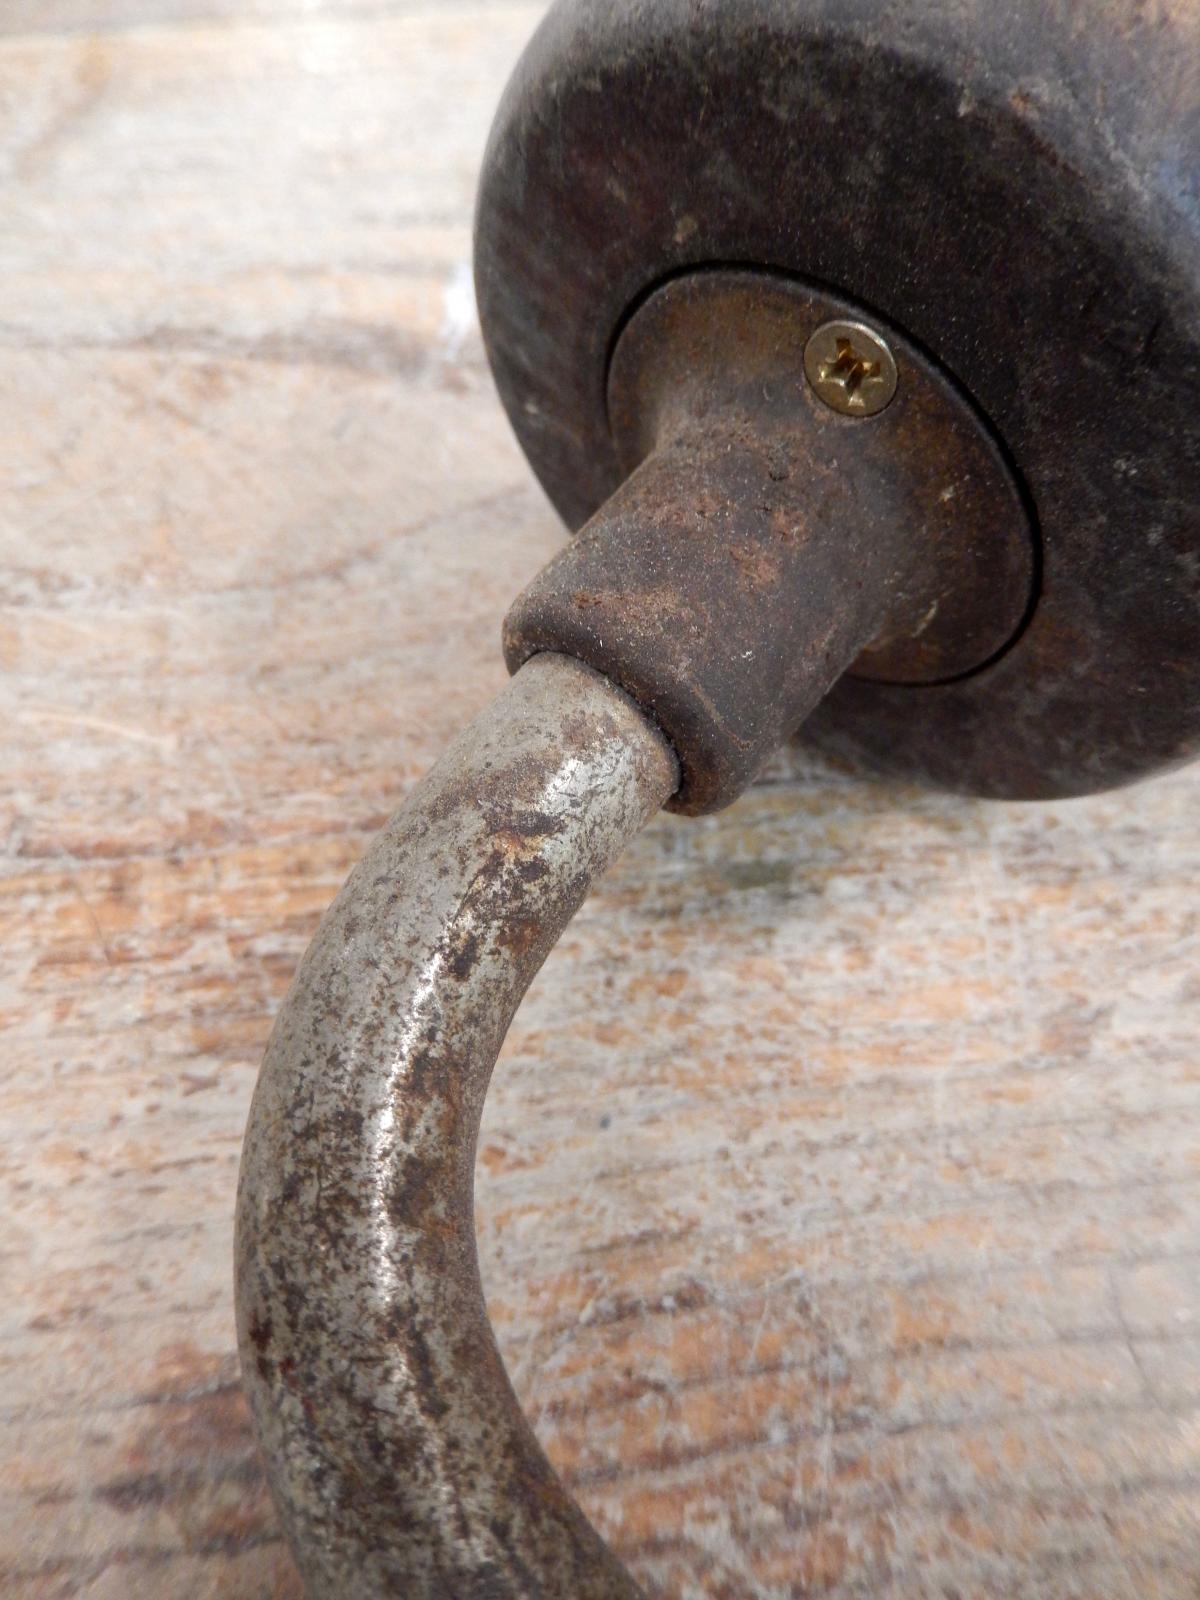
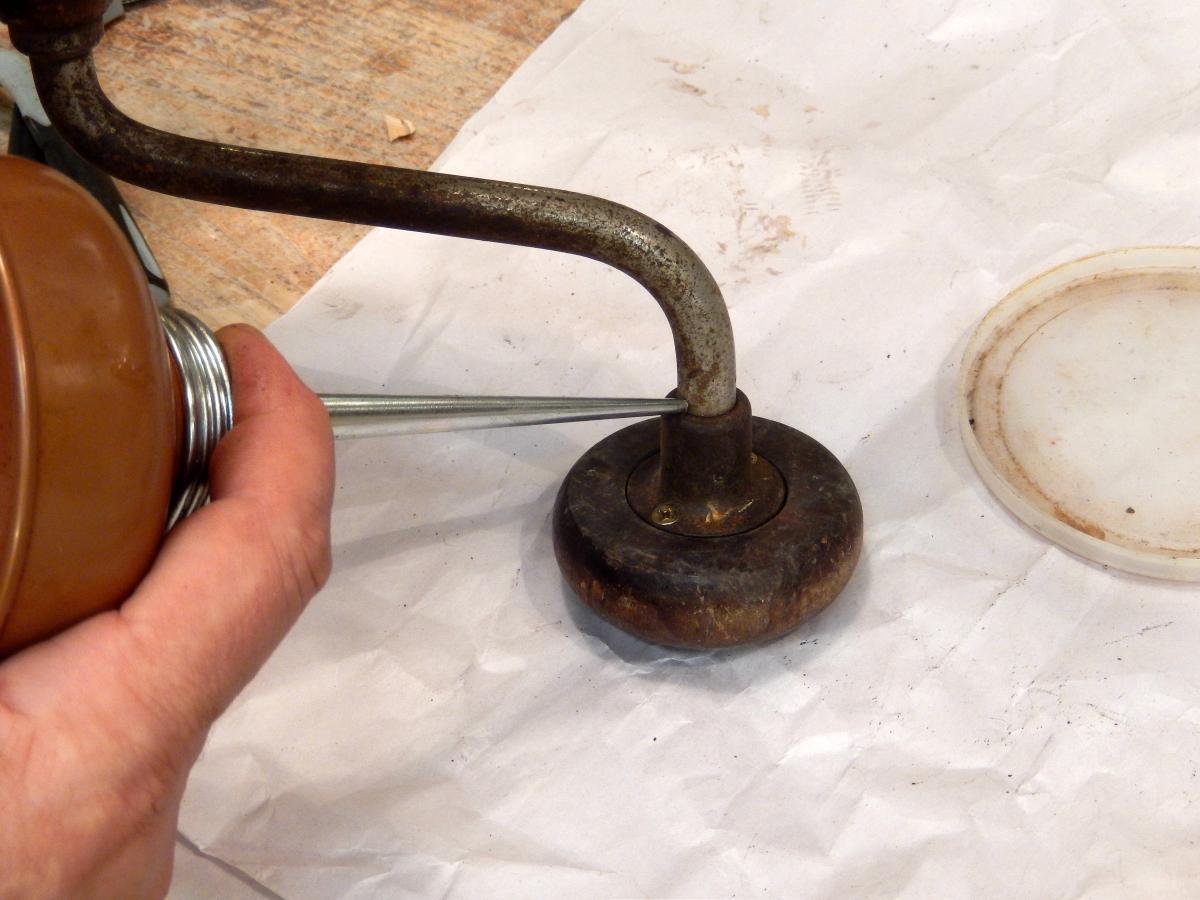
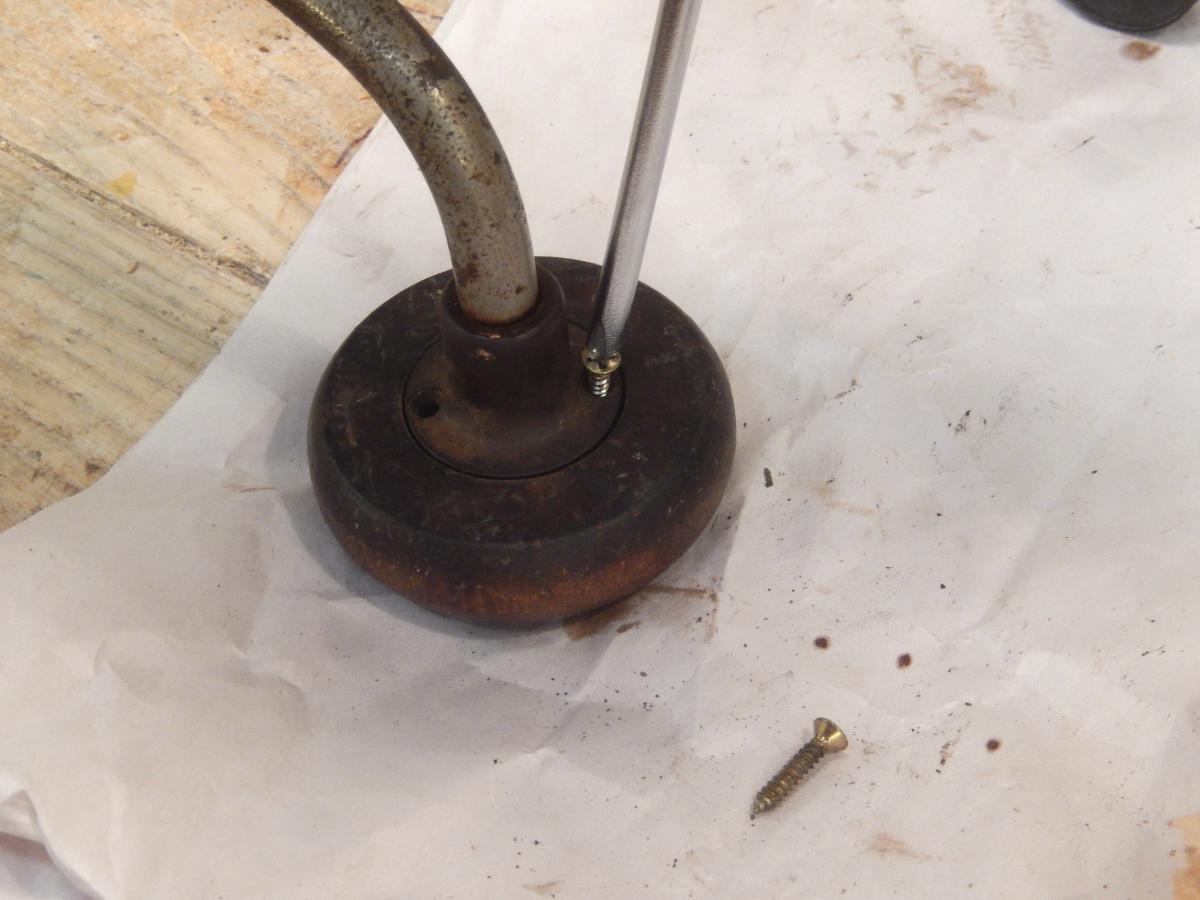
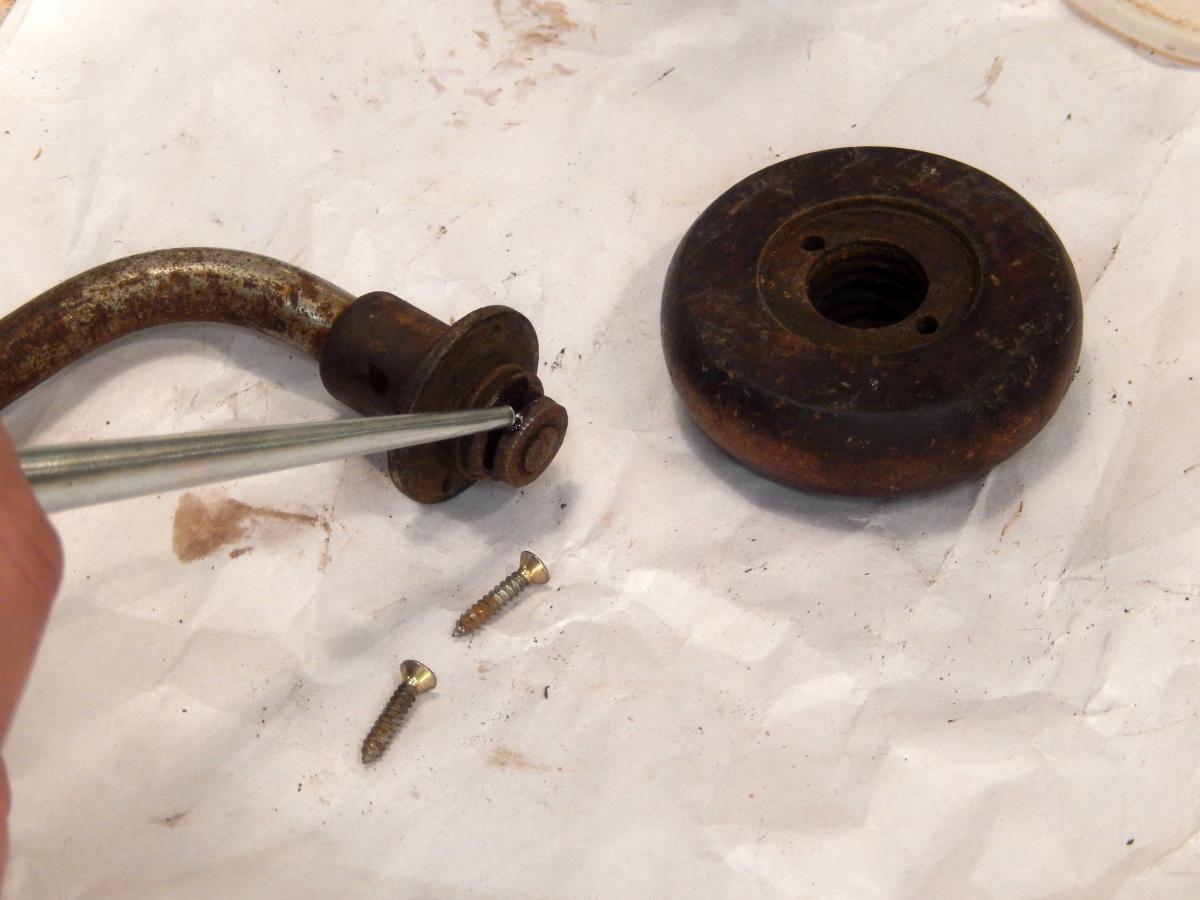
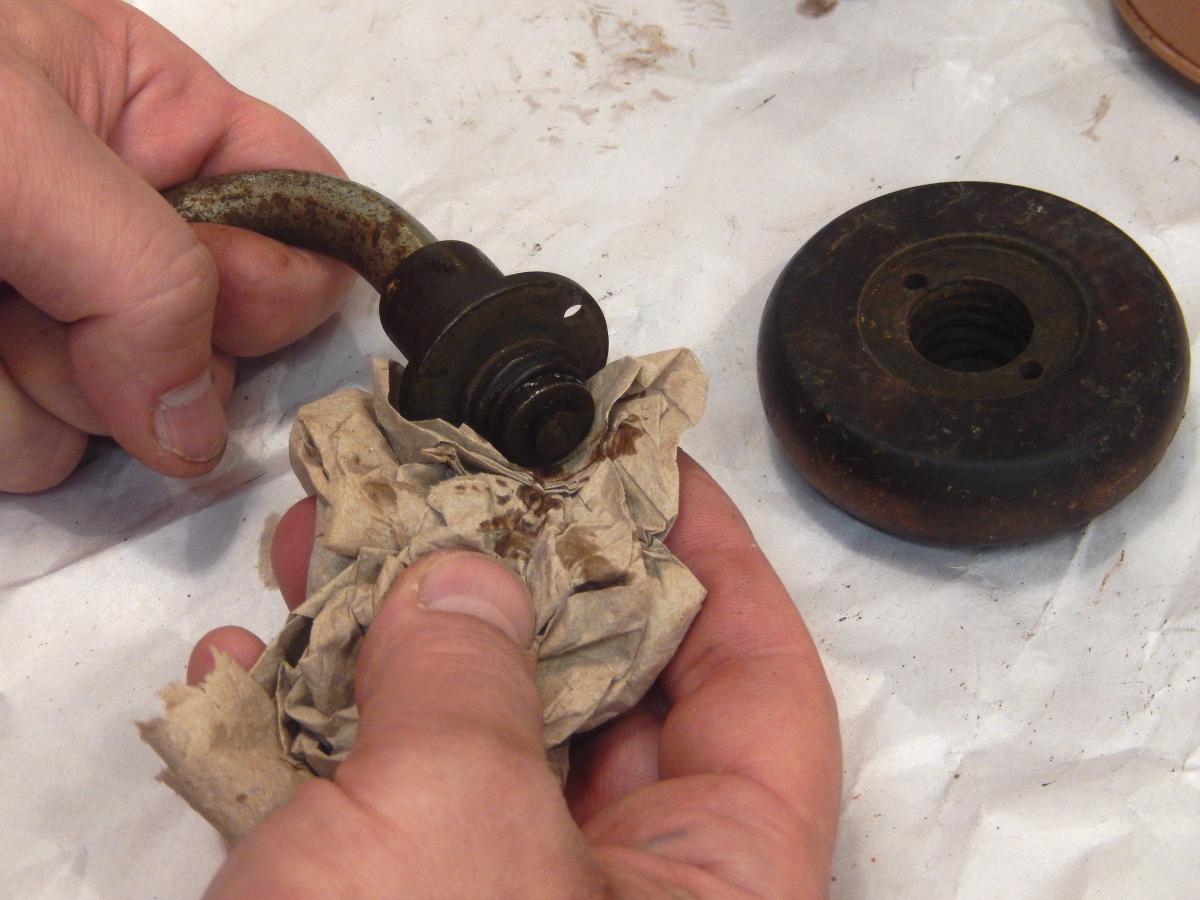
In the video below you can see how I tested the ability of the head and the ratchet mechanism of one of my braces to turn. Evidently the head’s quill had a pretty rusty clutch on the top end of the crank, but with some help from a few drops of oil I was able to free up this impediment. As you can see in the pictures that follow the first video, I had to disassemble the wooden head from the quill to gain access to the tip of the crank before oiling it.

Brace Maintenance and Restoration, Part 3 2
Brace Maintenance and Restoration, Part 3 3
Brace Maintenance and Restoration, Part 3 4
Brace Maintenance and Restoration, Part 3 5
Brace Maintenance and Restoration, Part 3 6

After oiling the quill the heads spins much better. Note that many quills have an oiling hole drilled through them, so remember to drop some oil down that hole from time to time.


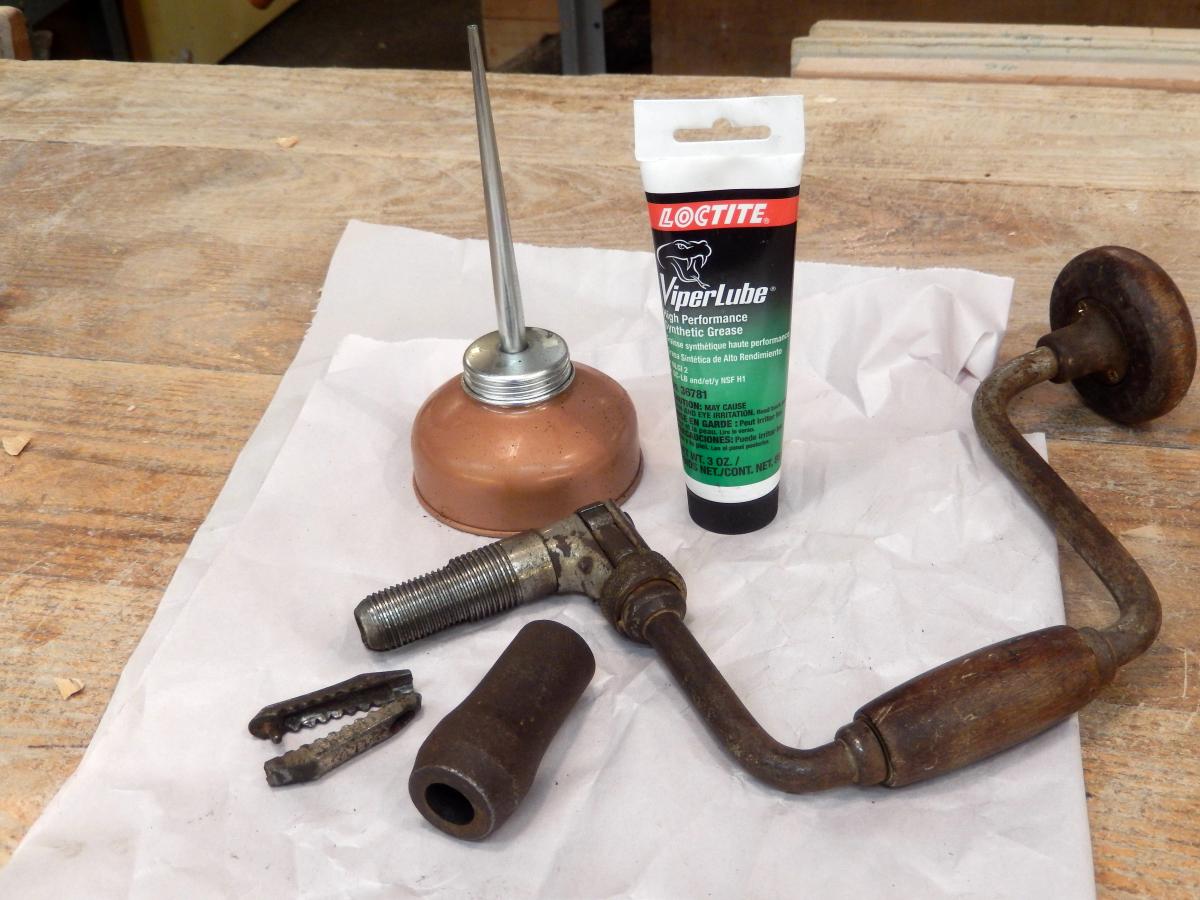
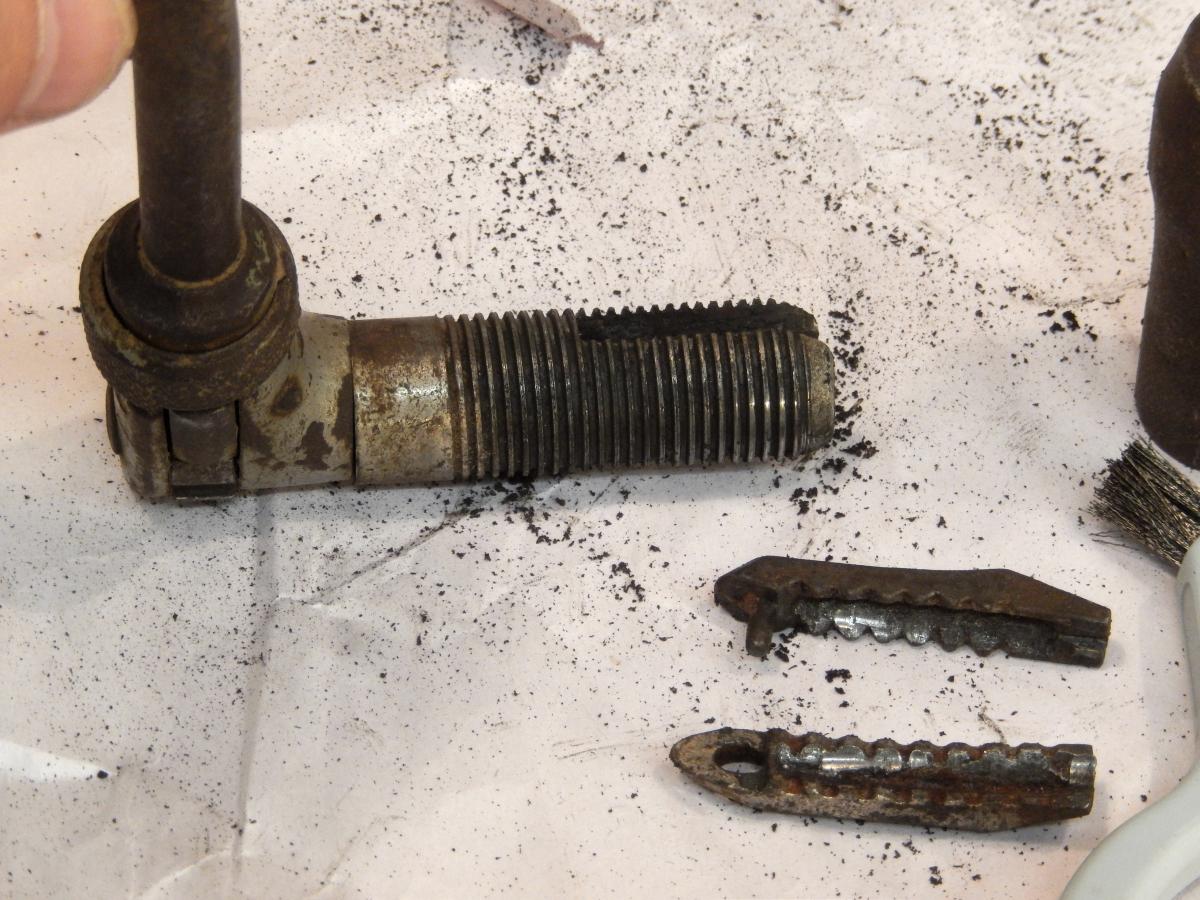
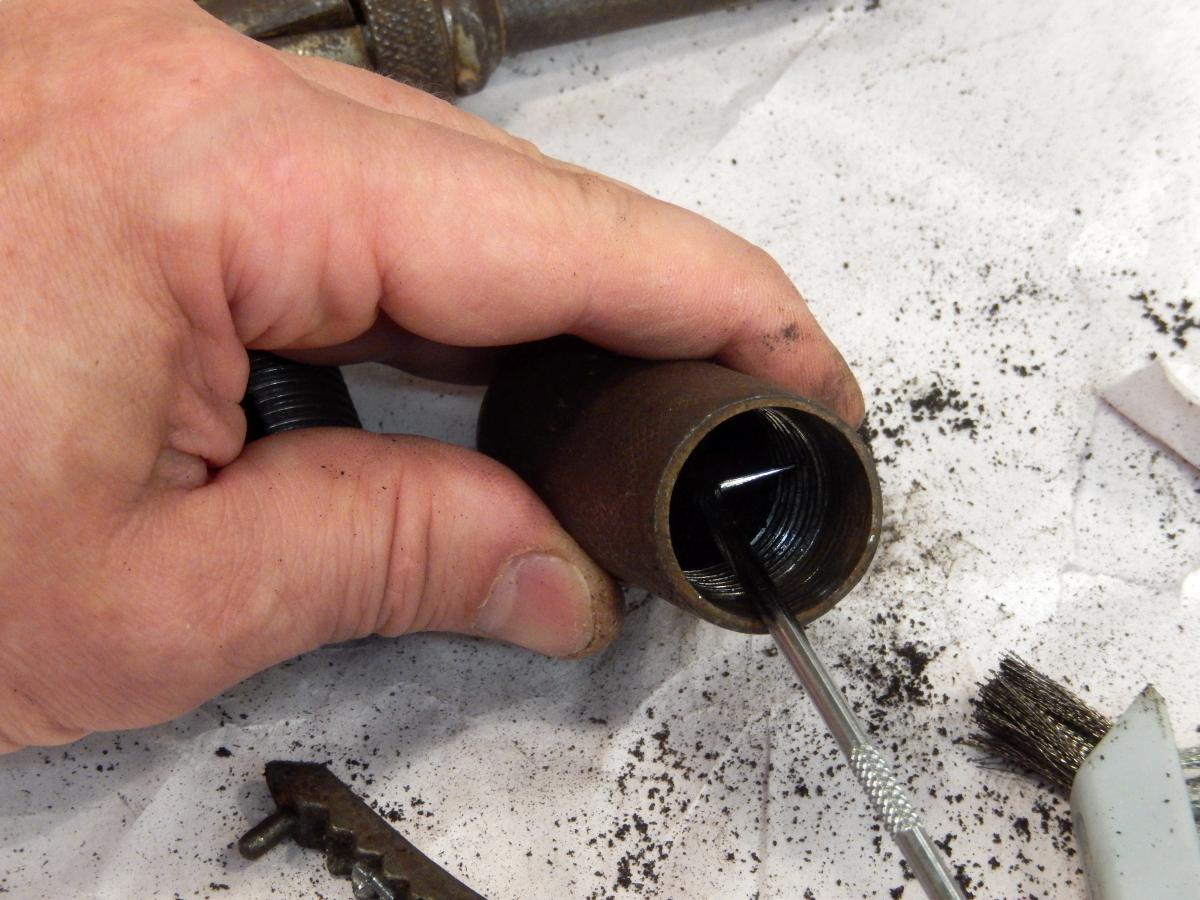
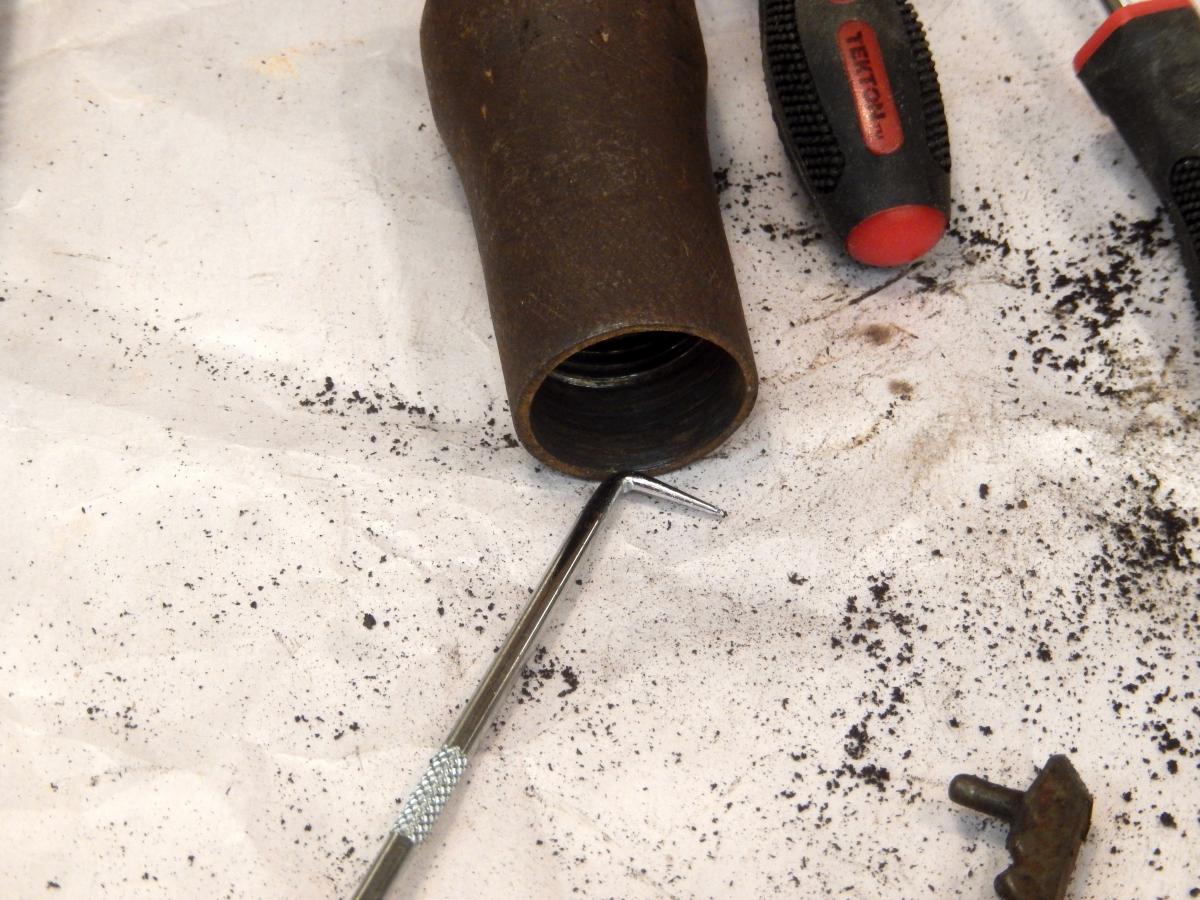
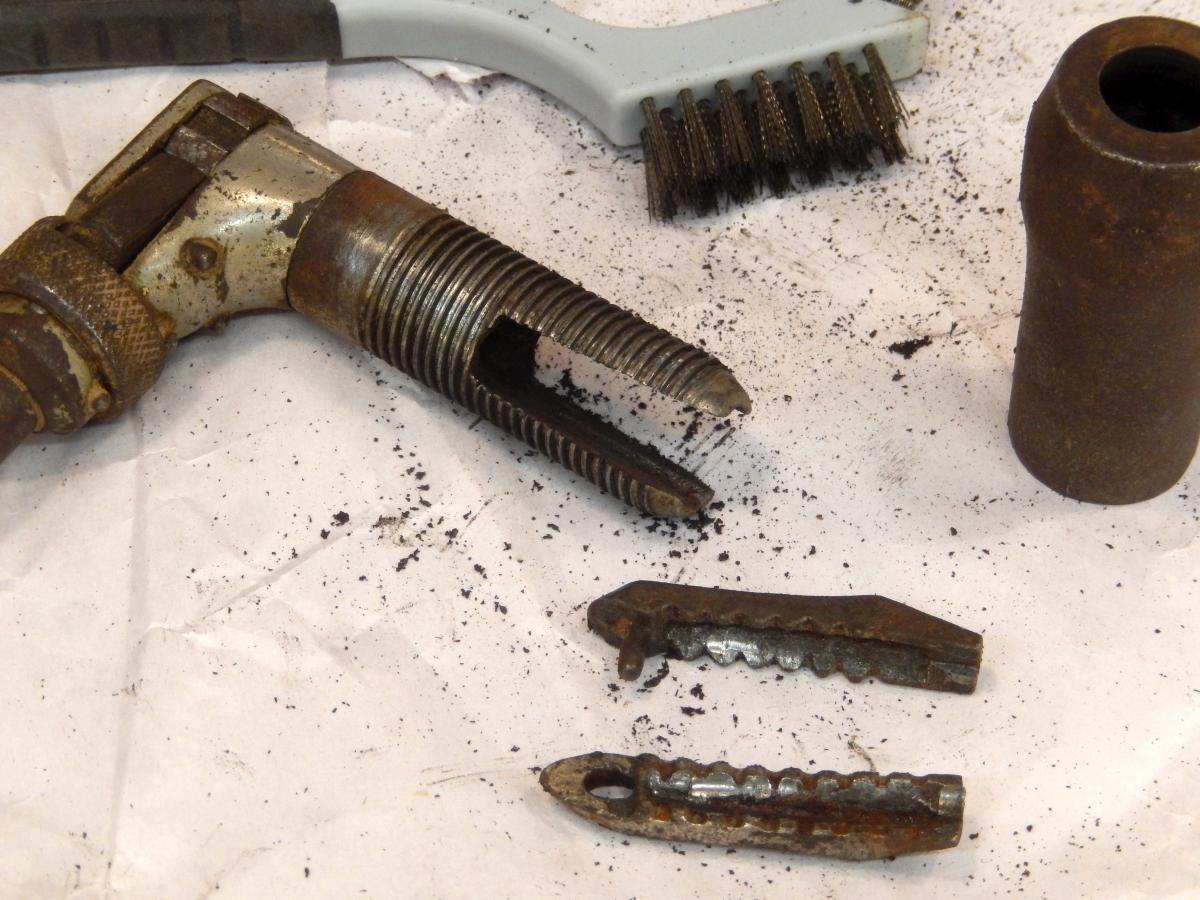
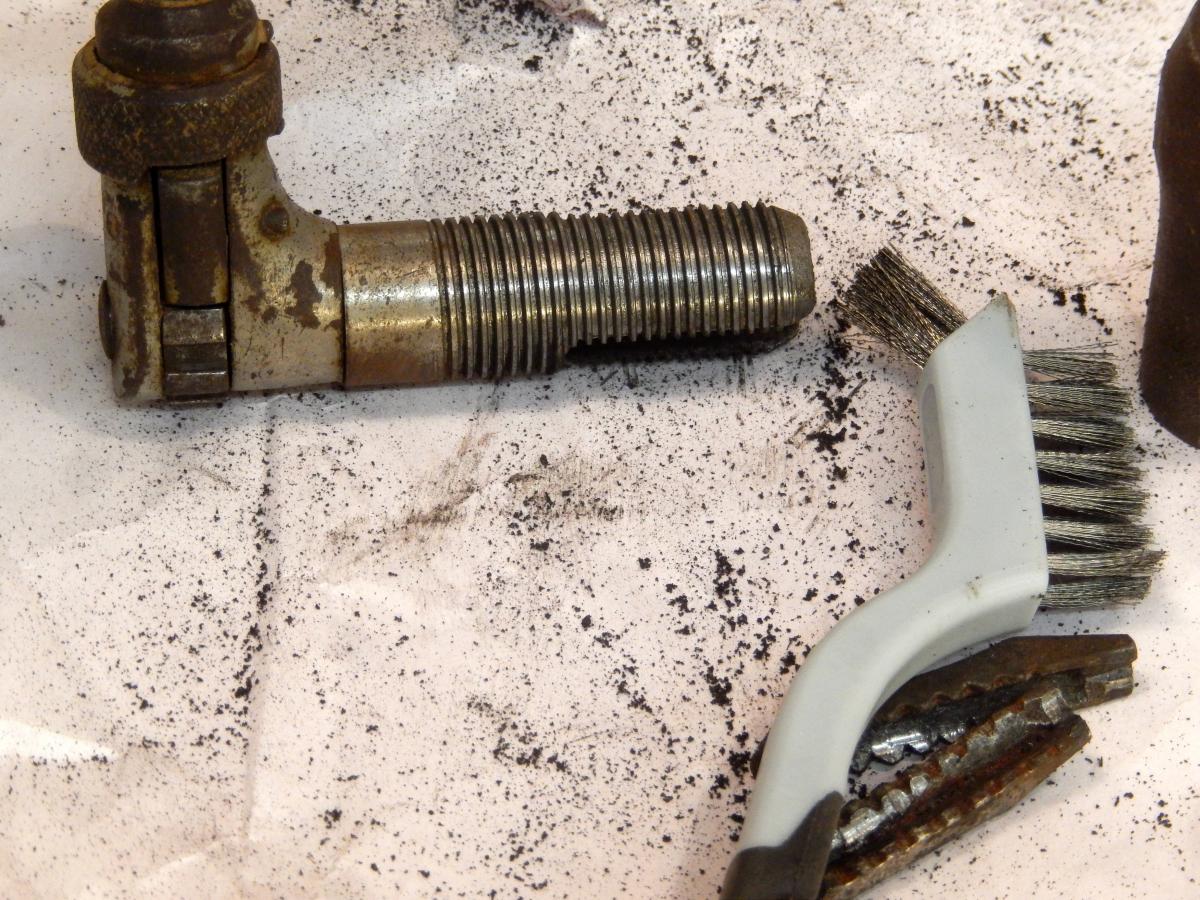
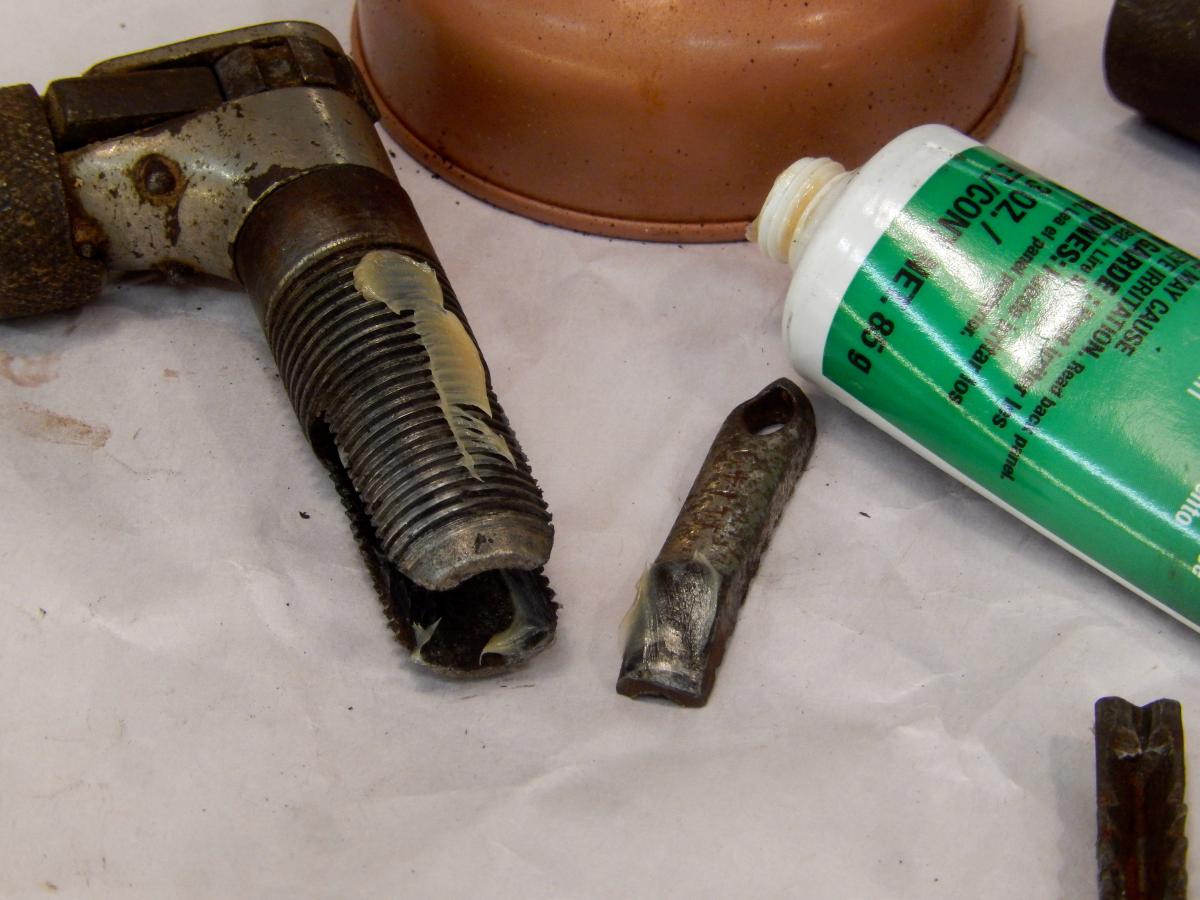
The chuck, the shell and the jaws: These parts will benefit from a thorough clean up and lubrication. In the video below you can see how I cleaned decades of grime and gunk off the chuck’s parts. I used a stiff brush and a pick to clean the threads. After scraping the chuck’s threads, clean the inner threads inside the shell. Clean the jaws housing and the jaws. Then grease or oil the threads and the tapered exterior slopes of the jaws. These slopes will rub against the inner cone-shape mortar of the shell that tightens the jaws close. Reducing friction between these surfaces will increase your ability to tighten the bit inside the chuck.

Brace Maintenance and Restoration, Part 3 7
Brace Maintenance and Restoration, Part 3 8
Brace Maintenance and Restoration, Part 3 9
Brace Maintenance and Restoration, Part 3 10
Brace Maintenance and Restoration, Part 3 11
Brace Maintenance and Restoration, Part 3 12

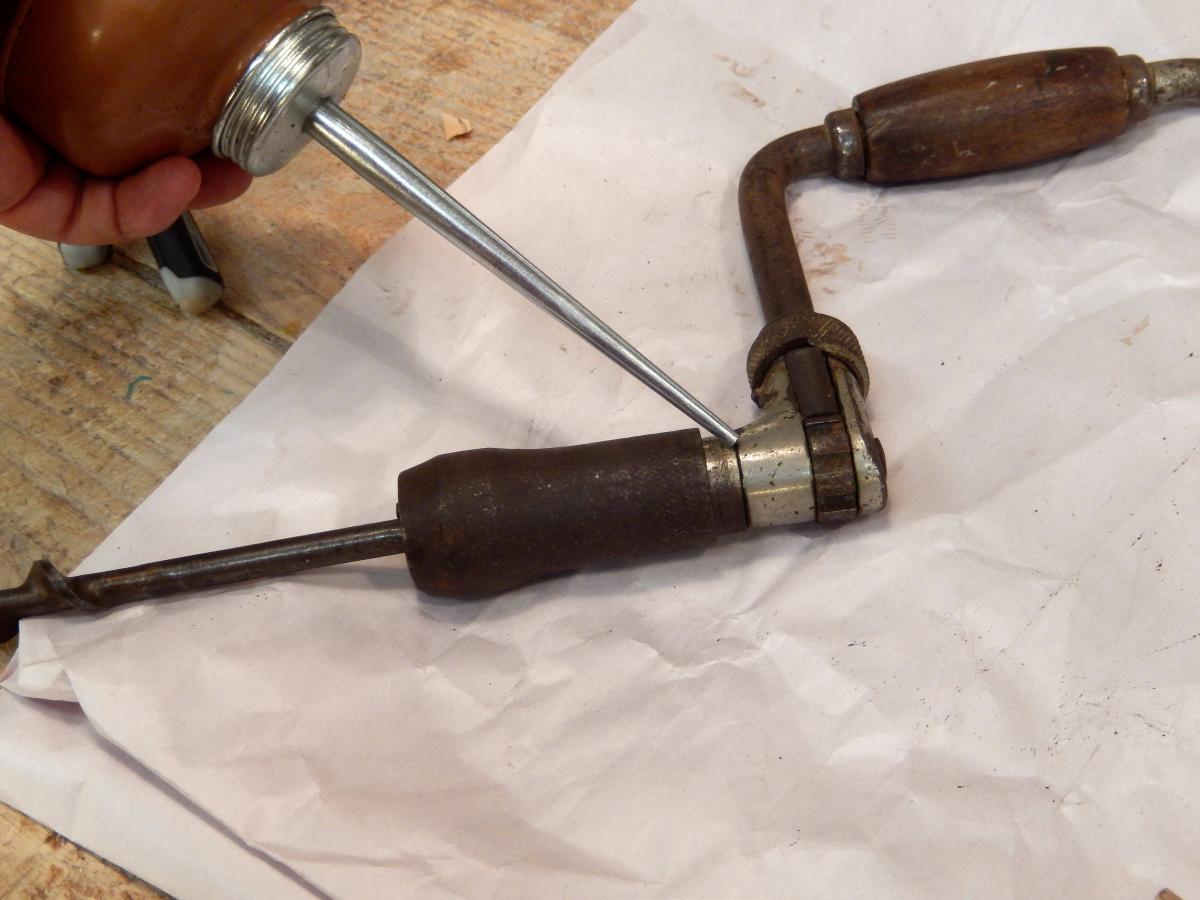
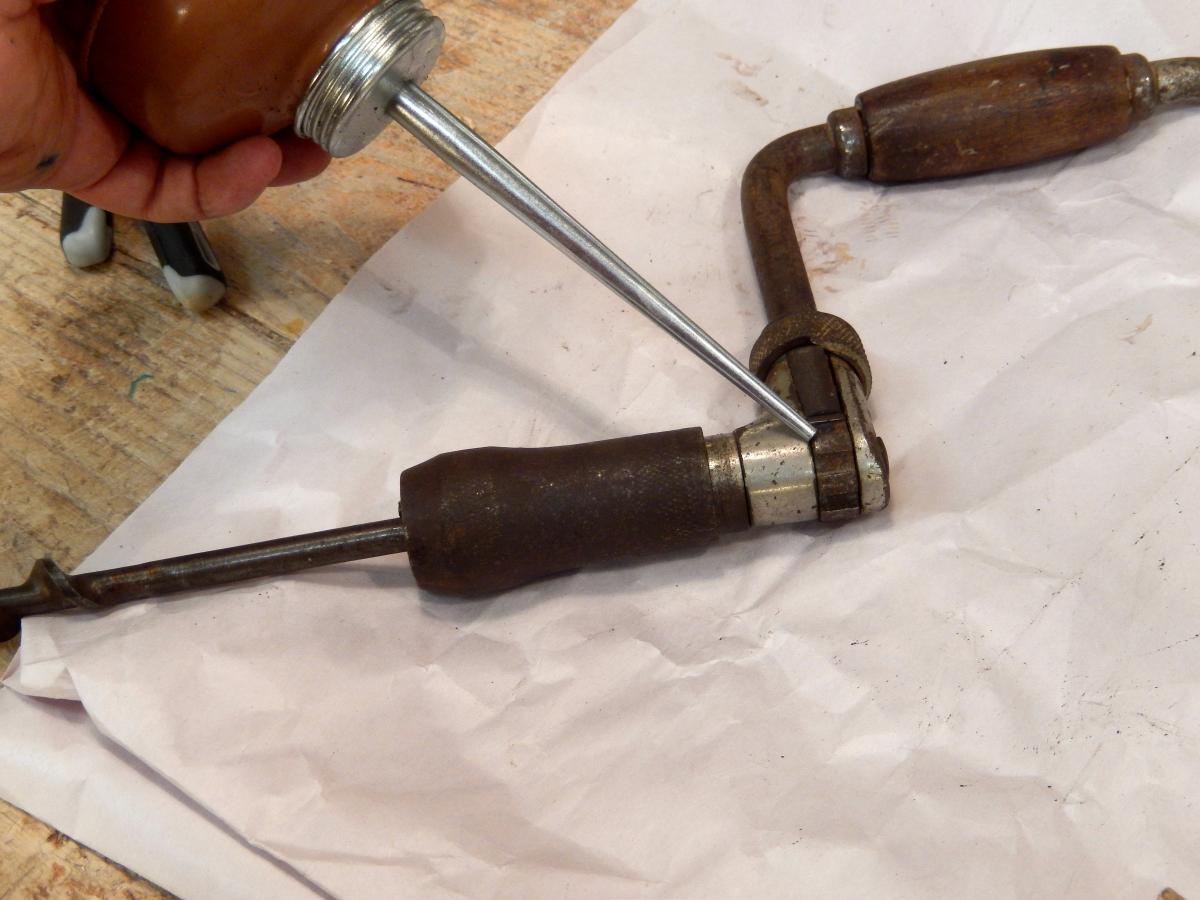
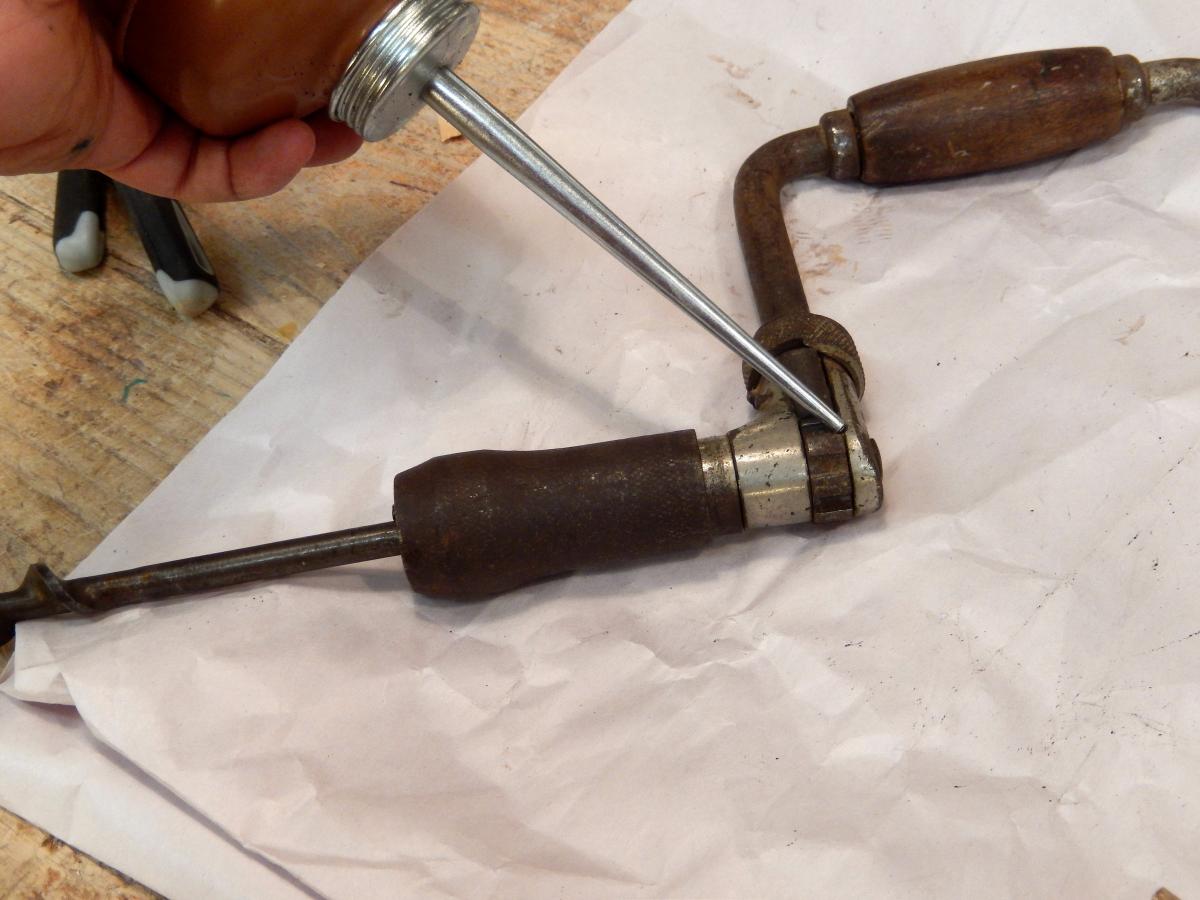
The ratchet and the arbor (mandrel): In most cases a few drops of oil between the ratchet wheel and its housing, on the pawls, and underneath the cam ring will suffice. Work the oil into the moving parts by turning the cam ring and swiveling the chuck. Absorb any brownish fluid that oozes out (its oil + old rust) and re-apply oil until you feel that the oil that lingers in the mechanism is free of contaminants.
Brace Maintenance and Restoration, Part 3 13
Brace Maintenance and Restoration, Part 3 14
Brace Maintenance and Restoration, Part 3 15


By now you have most likely resolved all the issues that hindered your brace. All that remains is to give it a try and enjoy working with it.
Add a Comment
Comments are closed.
The opinions expressed in this blog are those of the blog's author and guests and in no way reflect the views of Tools for Working Wood.